RaspPi Keyboard (RPBP)
![]()
Demo/Explanation
Creators/Roles
- Andrew Darling
- Wrote the Object-Orient-Programming structure and logic for the code.
- Riley Royall
- Built the circuit for RPBP.
- Mehmet Yilmaz
- Wrote the GUI element and the sheet music generator for the code.
About
The Raspberry Pi Buzzer Piano (RPBP) project was a final project for Python Sensor Systems (CSCI-250), an undergraduate class provided by the Colorado School of Mines, during the Fall 2019 semester. The project was a group project consisting of Andrew Darling, Riley Royall, and Mehmet Yilmaz. It was officially completed around late November 2019, early December 2019.
Our project is a Raspberry Pi Buzzer Piano (RPBP). This RPBP idea is a musical keyboard which would have a set of 13 keys, where the keys are just buttons, that can act like Piano keys. When a key is pressed, it would cause one or more of the buzzers to buzz at different frequencies depending on which button is pressed. There will also be two potentiometers, were one of them will be used to change between the 3 modes of the RPBP and the second is used to change the octave(s) of the buzzers. The 3 modes on the RPBP is: Free-Play, Record, and Play-Back. Free-Play, allows the user to play the RPBP and just hear what key they hit. Record, allows the user to Free-Play the RPBP well at the same time record it into a npy file as well as create Sheet Music, in PDF form, for that recording. Play-Back allows the user to enter a recorded file name and the circuit will play that recorded file though the buzzers. All the Sheet Music will be saved to one directory, so the user can always look back at their Sheet Musics if they desire to do so. Each button/key has an LED to show the user when a button/key has be pressed. This project has only been proven to work on Rasbian (Raspberry Pi OS) with the requirements, shown below, setup properly.
Requirements
- LilyPond
- Python3
- Raspberry Pi B 3+
- Raspberry Pi OS (ISO)
- Make LillyPond Work With ARM (Raspberry Pi)
- NumPy
- Bash
- Circuit Board
Information
- Modes:
- Free-play: Allows the user to just play the RPBP.
- Record: Allows the user to record what they play, save that recording, and create sheet music for what they record.
- Play-Back: Allows the user to play back any recording they downloaded or made.
- Mute: mutes all the buzzers on the RPBP.
- How to Update Between Modes:
- Change the settings/values on the GUI and hit the Submit button.
- Other Notes:
- To learn more about RPBP from the GUI, hit the README button and this README will open up.
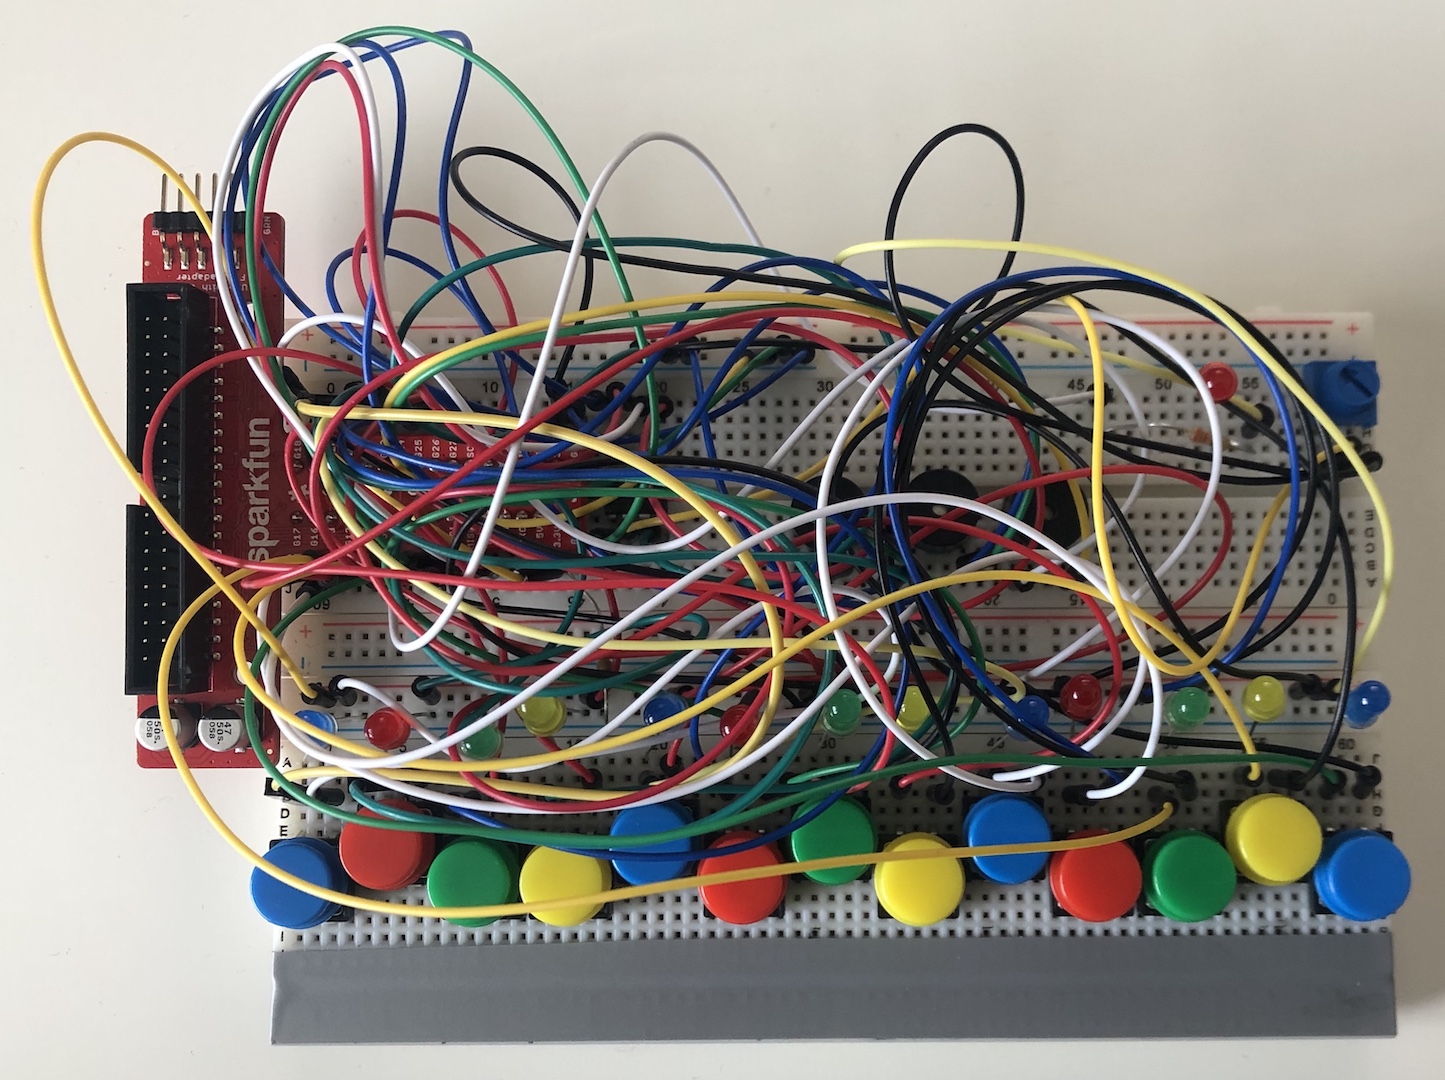
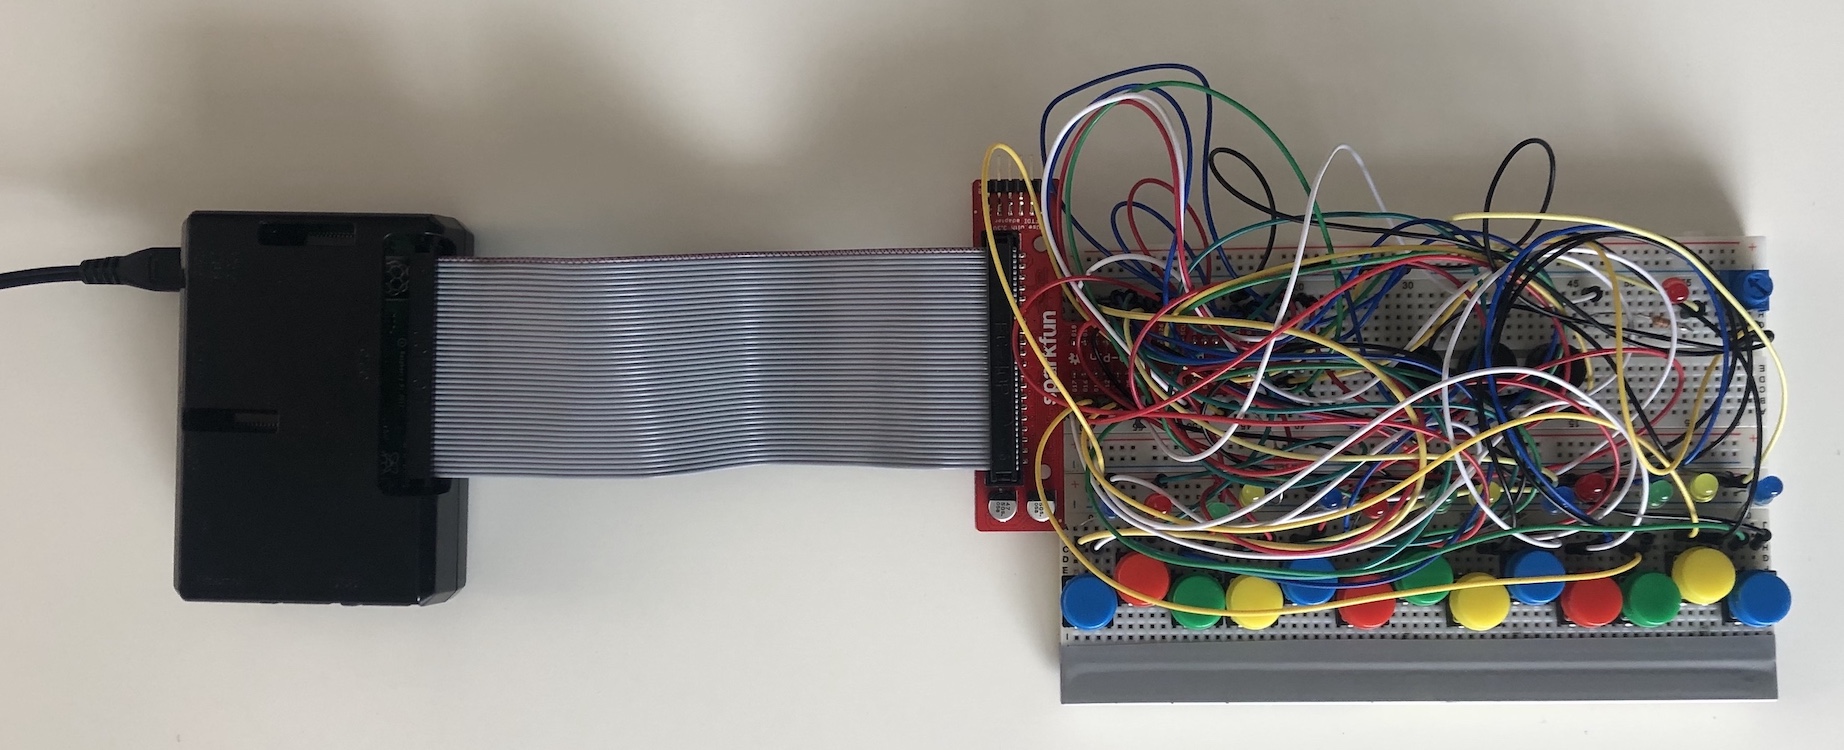
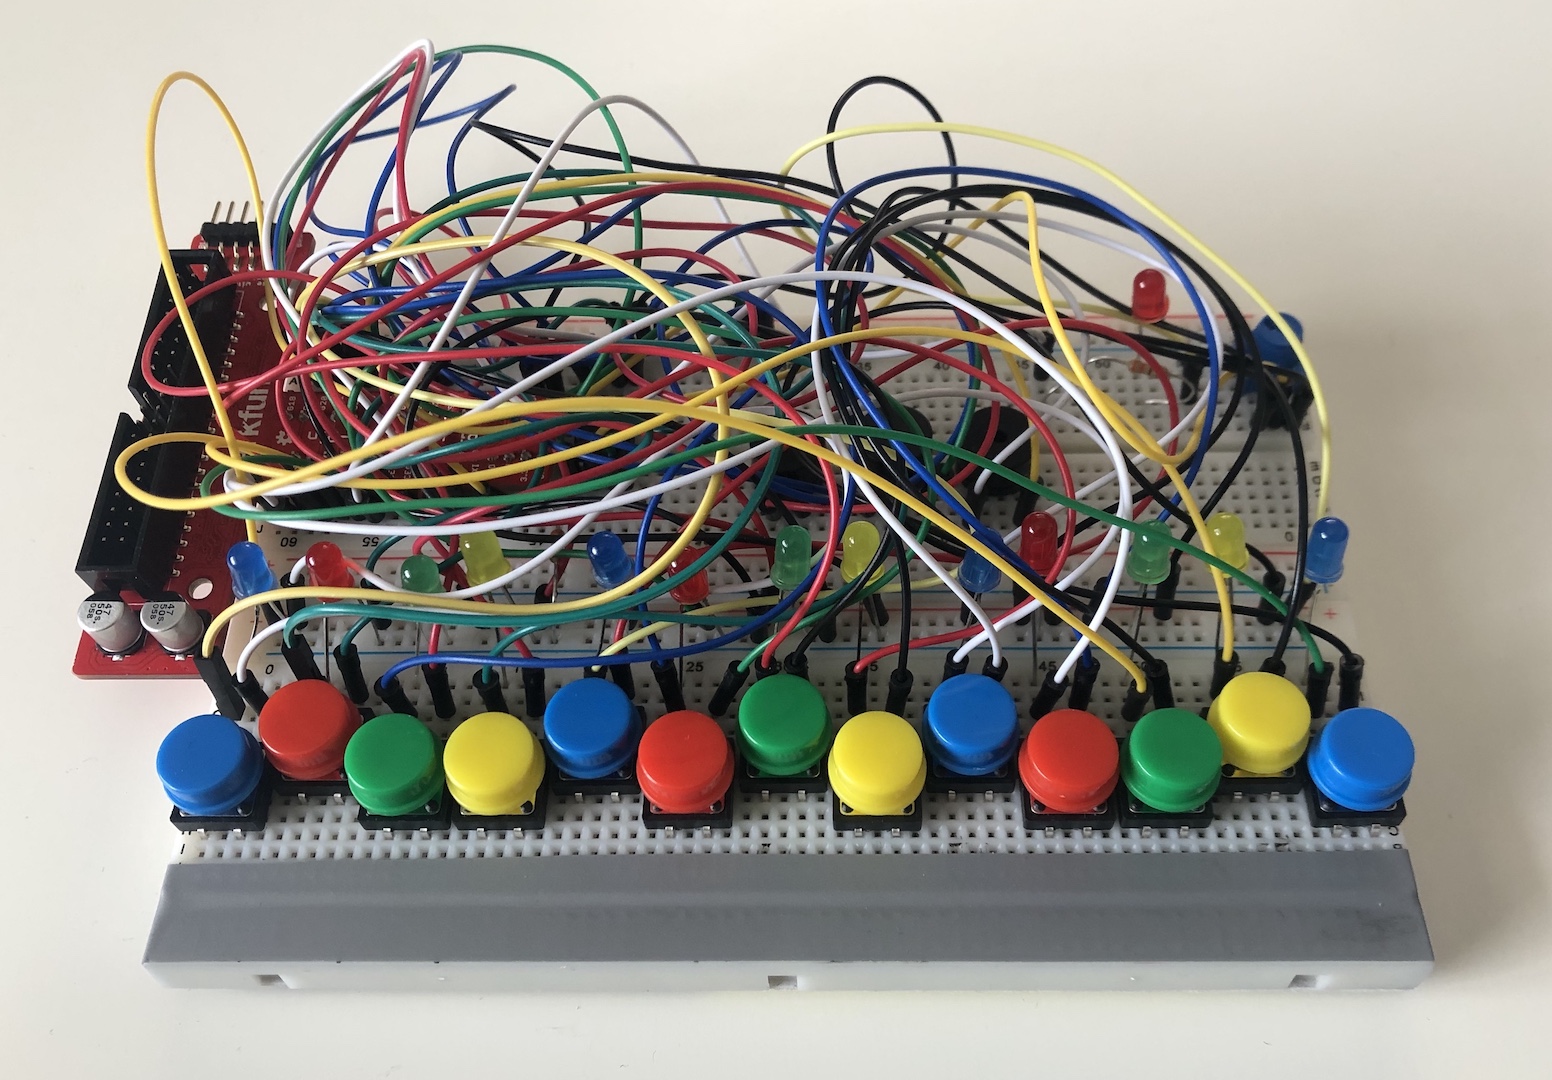
Circuit
- You can view images of the circuit board used for this project in the Circuit Pictures section.
- The Pi Wedge is connected to a Raspberry Pi 3 B+ though a ribbon cable.
- The Raspberry Pi runs the code provided in this repo with the drivers listed in this README.
- Sorry for the circuit layout being so messy, sadly we did not document this part too well.
How To Use:
- First, make sure all the requirements are met then execute the start.sh bash script and a GUI appear.
- Second, Select what Mode you want to use under the “Modes” label.
- [ these steps are for those who select the “Free-Play” mode ]
- Third_10: Hit the Submit button and start playing on the RPBP
- [ these steps are for those who select the “Record” mode ]
- Third_20, Write what name you want to give to your recorded file under the “Record Name” label.
- Third_21, Hit the button called Submit and a Red LED will be turned on.
- Third_22, Play on the RPBP and when you are done, hit the Stop button on the GUI.
- Third_23, After you hit the Stop button, your recording will be saved and your sheet music will be generated and opened as a PDF for you to view and it will be saved in the SHEETS directory.
- [ these steps are for those who select the “Play-Back” ]
- Third_30, Select what song file you want to play under the “Send It” label
- Third_31, Hit the submit button and start listening to the song file you selected.
- [ these steps are for those who select the “Mute” mode ]
- Third_40, Just hit the Submit button and all the Buzzers will be mutes until you change to a different mode
- Fourth, after you are all done with the RPBP, hit the Exit button to close the GUI and the overall program
Circuit Pictures